
This week I decided to show my women's group at work how to make paper. We talked about how to reduce your carbon footprint then about different ways to for you and your children to learn about recycling. I thought it went very successfully so I have posted the process for you.
Making Paper
1. Rip up old sheets and pieces of paper into smaller bits. I like them to be about 1"/2.5cm square. Put these pieces in a container and fill container with water. Soak for a few days. If it is light paper like tissue or newsprint it only needs about 1-2 days, medium thickness computer paper is about 3-4 days, Thick paper like poster board needs 4-6 days. Try and use paper with not too much ink on it or your paper will look muddy. For example, newspapers have way too much ink on them so try and mix them with ink less paper instead of making a sheet with just newsprint.
2. Make a frame. If you have an old wood frame around the house or you find one at a garage sale this works nicely. I didn't have any of these so instead I made some frames from random pieces of styrofoam around the house that I glued together and some of them out of strips of cardboard that i covered in duct tape to make them waterproof.
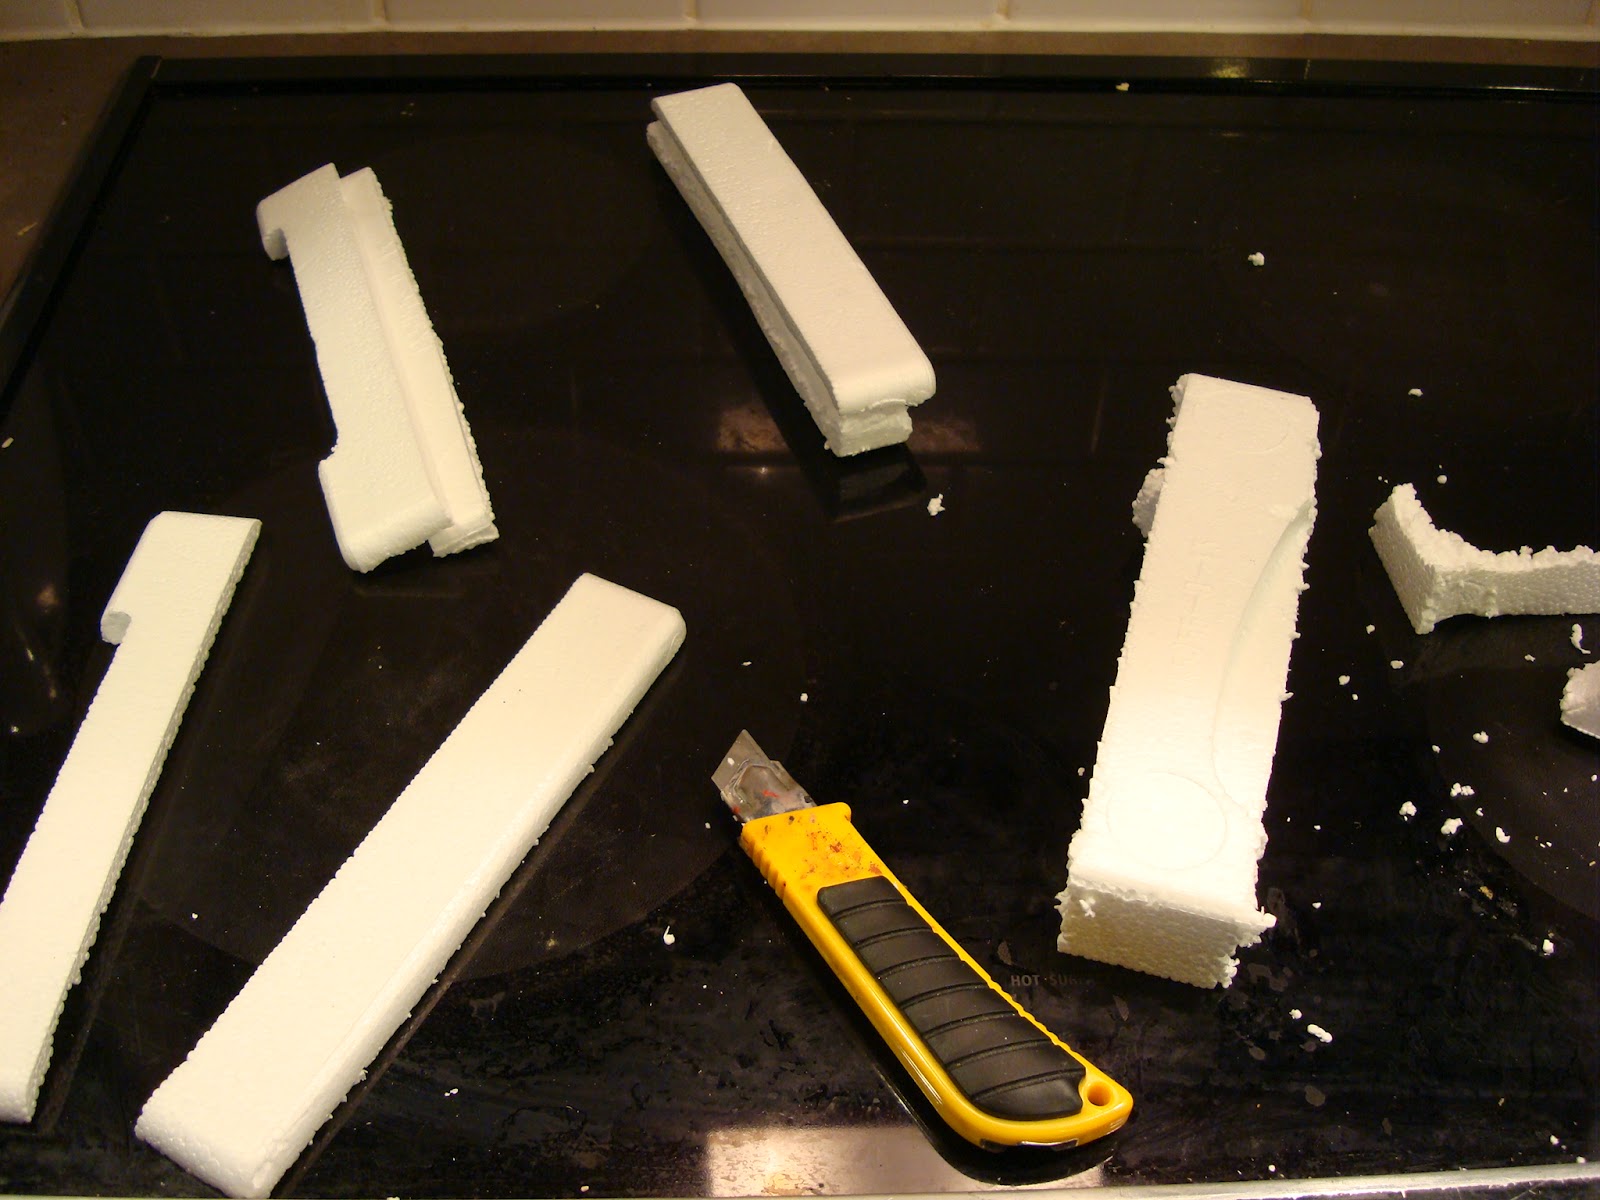 |
| Cutting up foam to make a frame |
 |
| My huge box of glue! Yay! |
 |
| Cutting cardboard in strips for the frames |
 |
| My finished frames. I will now cover the cardboard ones with duct tape. 3. Cut a piece of screening to the same size at your frame and hot glue/staple/duct tape it on. |
 |
| One of the finished frames
4. After the paper has been soaking for a few days, put it in a blender with LOTS of water. If you put too much paper and not enough water you will cause stress on your blender. Blend till larger pieces are pulpy. There can be different sizes of paper in your pulp mix as it will make your page look interesting.

6. Add other items if you would like to make your paper unique. (ex. Food colouring, string, glitter, yarn, plant bits, flower petals, etc.)

7. Dip your frame. Allow the pulp to cover the frame evenly. Pull it out of the water. Take a piece of J cloth and lay it over the top of the mess. Press the water out of the pulp on the screen. When most of the water is out, flip it over onto a towel or stack of newspaper and sponge off the water from the top. (the frame side)

8. Carefully pull the frame off the paper. Yay! now you have one sheet! Make another one now.

9. The J cloths will absorb water from the paper sheets so while they are damp you can stack them on top of each other. Make sure there is a J cloth in between each sheet or they will stick in a huge mess. When you are done making the lot, separate the sheets/cloths and lay flat or hang to dry. The paper will take a day or two to dry. *Do not dry the paper in a stack or it will take you until next christmas for it to be ready!*
 |
No comments:
Post a Comment